Essential Steps for Preparing Your Garden Soil in Spring
Preparing your garden soil in spring is the most critical foundation for a successful growing season. With a few strategic actions, you can ensure your soil delivers the nutrients and structure plants need to thrive—setting up your spring garden for vibrant growth and high yields.
Testing and Improving Soil Quality for Optimal Growth
The first step in preparing your garden is testing your soil for pH and nutrient levels. Soil testing kits—easy to find at garden centers or through extension services—allow you to determine if your soil is acidic, neutral, or alkaline. Plants have different ideal pH preferences, but most thrive in a pH range between 6.0 and 7.0. Testing also reveals deficiencies in essential nutrients such as nitrogen, phosphorus, and potassium.
Based on your results, you can amend your soil:
- Add compost for improved soil structure and organic matter.
- Use fertilizers to supplement lacking nutrients.
- Apply lime to raise pH or sulfur to lower it, as needed.
- Soil conditioners help break up heavy clay or boost sandy soils.
Here’s a handy reference for common soil types and the best ways to address their challenges:
| Soil Type | Primary Challenge | Recommended Amendment |
|---|---|---|
| Clay | Poor drainage, compaction | Compost, gypsum, sand |
| Sandy | Low water retention | Organic matter, compost |
| Loamy | Balanced, but depletes | Annual compost, mulch |
| Silty | Erosion, compaction | Organic matter, cover crops |
By tailoring amendments to your soil’s needs, you’ll create the right environment for healthy roots and lush spring plants.
Proper Soil Preparation Techniques
Once amended, it’s time to physically prepare the soil. Tilling the soil—about 6–8 inches deep—breaks up compaction, incorporates amendments, and aerates the soil, all of which encourage robust root growth. If you see large clumps, break them up with a rake for a finer, even texture.
Remove any debris from weeds, rocks, and old plant material to reduce disease risk and prevent obstacles for new seedlings.
For gardeners aiming for improved root health and easier management, consider:
- Creating raised beds, which promote exceptional drainage and warm up faster in spring.
- Double-digging or using a garden fork to further aerate the soil.
- Incorporating coarse sand or organic matter to heavy soils for better drainage.
These steps create a healthy soil ecosystem that supports everything else you do in your spring garden—so don’t skip them!
Choosing the Best Plants for Your Spring Garden
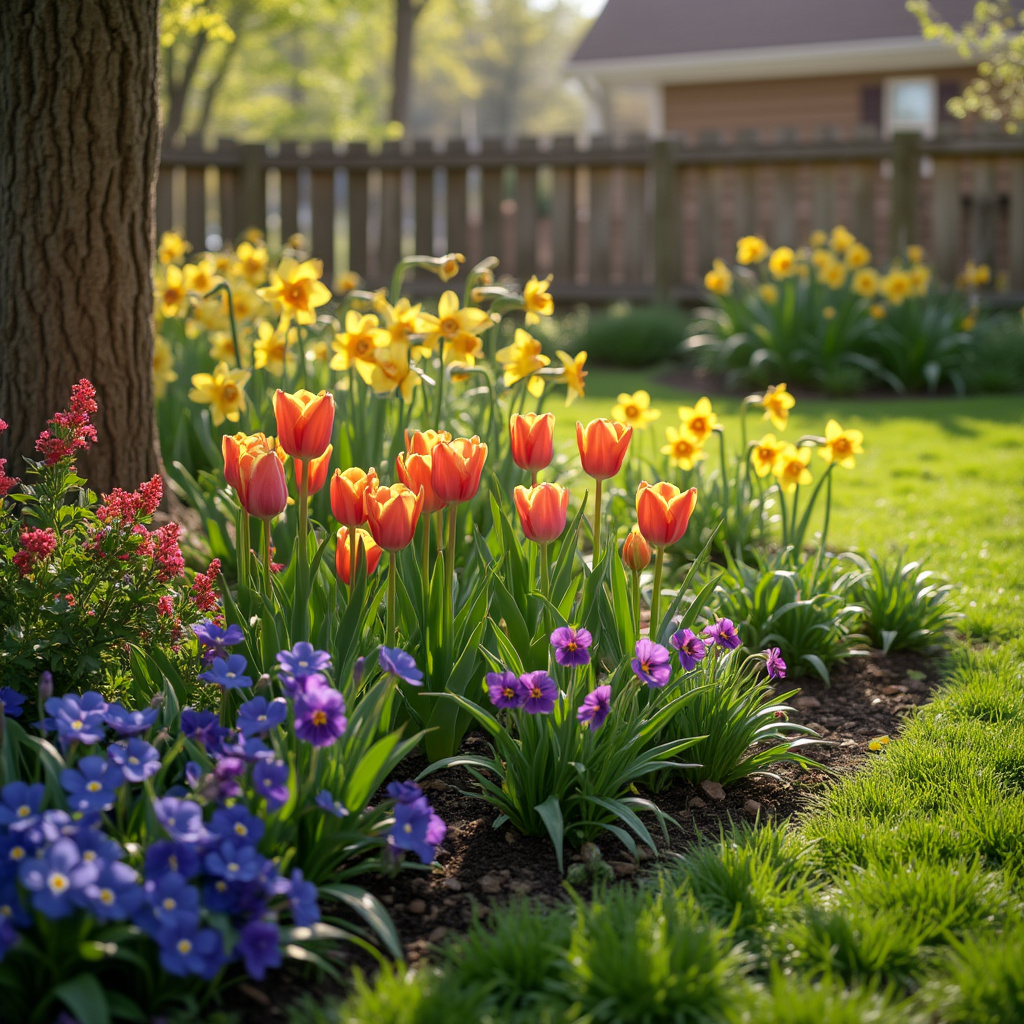
Selecting the right plants is key to turning your spring garden into a vibrant oasis. With a bit of planning, you can fill your beds with varieties that thrive in your local conditions. Let’s break down how to match your space with the best choices for your environment, ensuring you enjoy both color and productivity all season long.
Selecting Plants Based on Climate and Sunlight
Matching plants to your local climate and available sunlight is the first step toward success. Start by determining your USDA hardiness zone—a geographic guide that shows the average low temperatures in your area. Use the USDA Plant Hardiness Zone Map to find your zone, then reference plant tags or catalogs to ensure selection of species suited to your region.
Sunlight needs are just as crucial:
- Full Sun: 6+ hours of direct sun per day
- Partial Shade: 3–6 hours of sun, ideally during cooler parts of the day
- Shade: Less than 3 hours of direct sun or dappled light
Here’s a quick reference for top spring plants, organized by their sunlight preferences:
| Sunlight | Top Spring Flowers | Top Spring Vegetables |
|---|---|---|
| Full Sun | Tulips, marigolds, zinnias | Tomatoes, peppers, carrots |
| Partial Shade | Bleeding heart, impatiens | Lettuce, kale, spinach |
| Shade | Hostas, astilbe, ferns | Arugula, mustard greens |
By matching each area of your garden to the right plant, you’ll enjoy healthier growth and fewer struggles with pests or disease.
Annuals vs. Perennials: What to Plant This Season
Understanding the difference between annuals and perennials makes your plant selection more effective and sustainable.
- Annuals complete their life cycle in one season—plant, bloom or fruit, then die. They offer quick color and bountiful harvests, perfect for filling bare spaces or experimenting with new varieties each year.
- Perennials return year after year, growing larger and often blooming more profusely as they mature. They’re an investment in a garden that becomes more beautiful with time and less work as seasons pass.
Benefits of Annuals:
- Continuous blooms all season
- Variety and flexibility
- Excellent for containers and borders
Benefits of Perennials:
- Lower long-term maintenance
- Drought and weather resilience (once established)
- Structure and season-spanning interest
Easy-to-Grow Spring Flowers:
- Annuals: Marigolds, pansies, cosmos
- Perennials: Daisies, daylilies, phlox
Easy Spring Vegetables:
- Annuals: Radishes, green beans, cucumbers
- Perennials: Asparagus, rhubarb, chives
Mixing both annuals and perennials gives you a blend of instant results and lasting beauty, creating a dynamic spring garden that keeps getting better.
Smart Planting Strategies for a Thriving Spring Garden
Maximize the beauty and productivity of your spring garden by planting smart. With a strategic approach to timing, watering, and mulching, you’ll set your garden up for robust growth and a longer harvest window—even if your space or climate presents challenges.
Timing Your Planting for Maximum Success
One of the most important secrets to gardening success lies in planting at the right time. Timing can mean the difference between flourishing plants and disappointing results.
Start seeds indoors:
- For most spring vegetables and flowers, sow seeds indoors 6–8 weeks before the last expected frost date in your region.
- Use seed trays with potting mix placed in a warm, bright spot or under grow lights.
- Harden off seedlings gradually by exposing them to outdoor conditions for a few hours each day before transplanting.
Transplant outdoors:
- Move seedlings outside when nighttime temperatures consistently stay above freezing, and soil can be worked without clumping.
- Refer to seed packets for specific transplant guidelines for crops like tomatoes, peppers, or zinnias.
Embrace succession planting:
- Extend your harvest by sowing quick-maturing crops (like lettuce, radishes, or spinach) every 2–3 weeks.
- After harvesting one crop, immediately plant another in the same spot for continuous yield.
By planning and staggering your plantings, you’ll enjoy a steady supply of fresh flowers and vegetables from early spring into summer.
Watering and Mulching for Healthy Growth
Once your plants are in the ground, consistent care keeps them thriving.
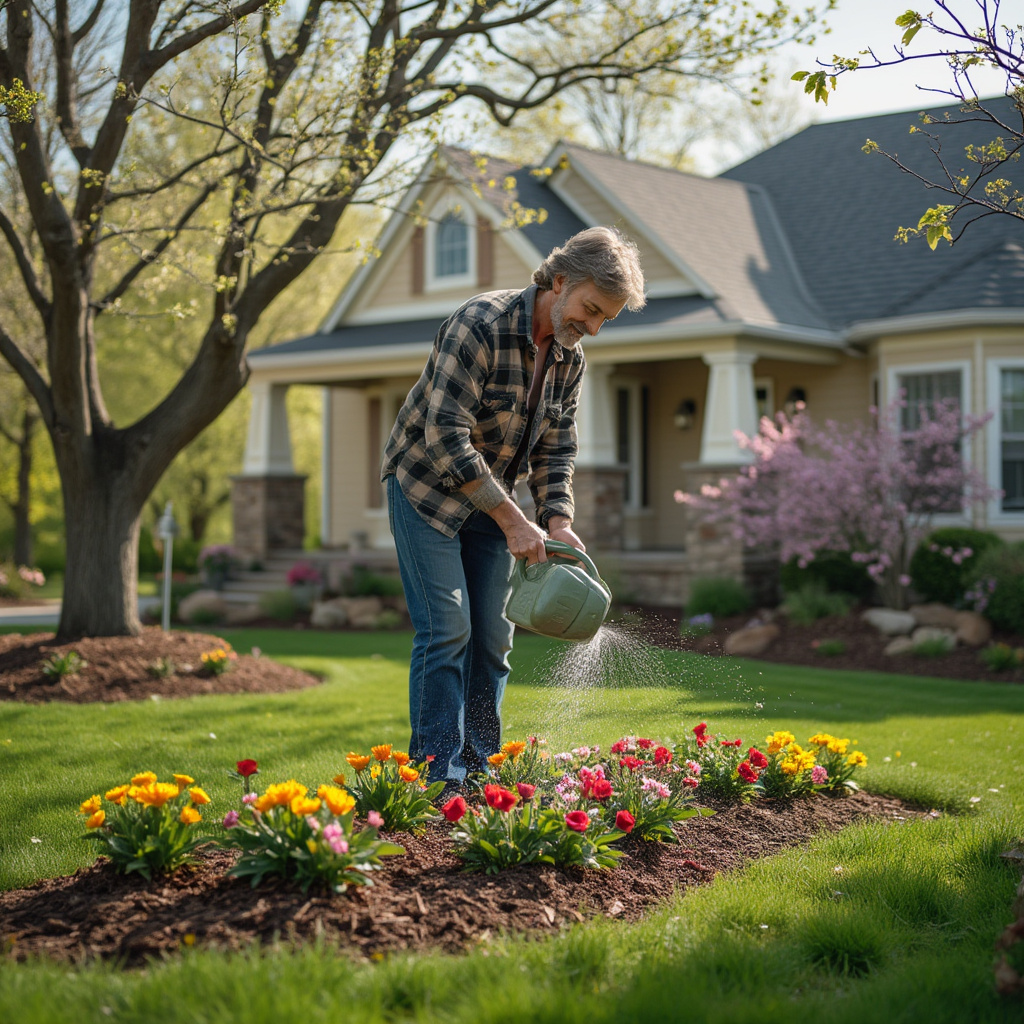
Spring watering tips:
- Water deeply but less frequently, always checking soil moisture 1–2 inches below the surface.
- Mornings are best—watering early reduces evaporation and helps prevent fungal diseases.
Benefits and use of mulch:
Mulching is one of the most effective ways to nurture a healthy garden. Apply a 2–3 inch layer around plants, keeping mulch a few inches away from stems to prevent rot.
Recommended mulch types and their benefits:
| Mulch Type | Benefits |
|---|---|
| Straw | Retains moisture, suppresses weeds |
| Shredded Bark | Prevents erosion, adds organic matter |
| Compost | Feeds soil, regulates temperature |
| Pine Needles | Good for acid-loving plants, lightweight |
| Grass Clippings | Nitrogen boost, quick decomposition |
Smart watering and effective mulching not only reduce garden chores but also make your spring garden more resilient and lush.
Essential Tools and Supplies for Spring Planting Prep
When it comes to setting up your garden for spring, having the right tools and supplies can make all the difference. Investing in high-quality, well-maintained equipment streamlines your gardening tasks and supports healthy, thriving plants.
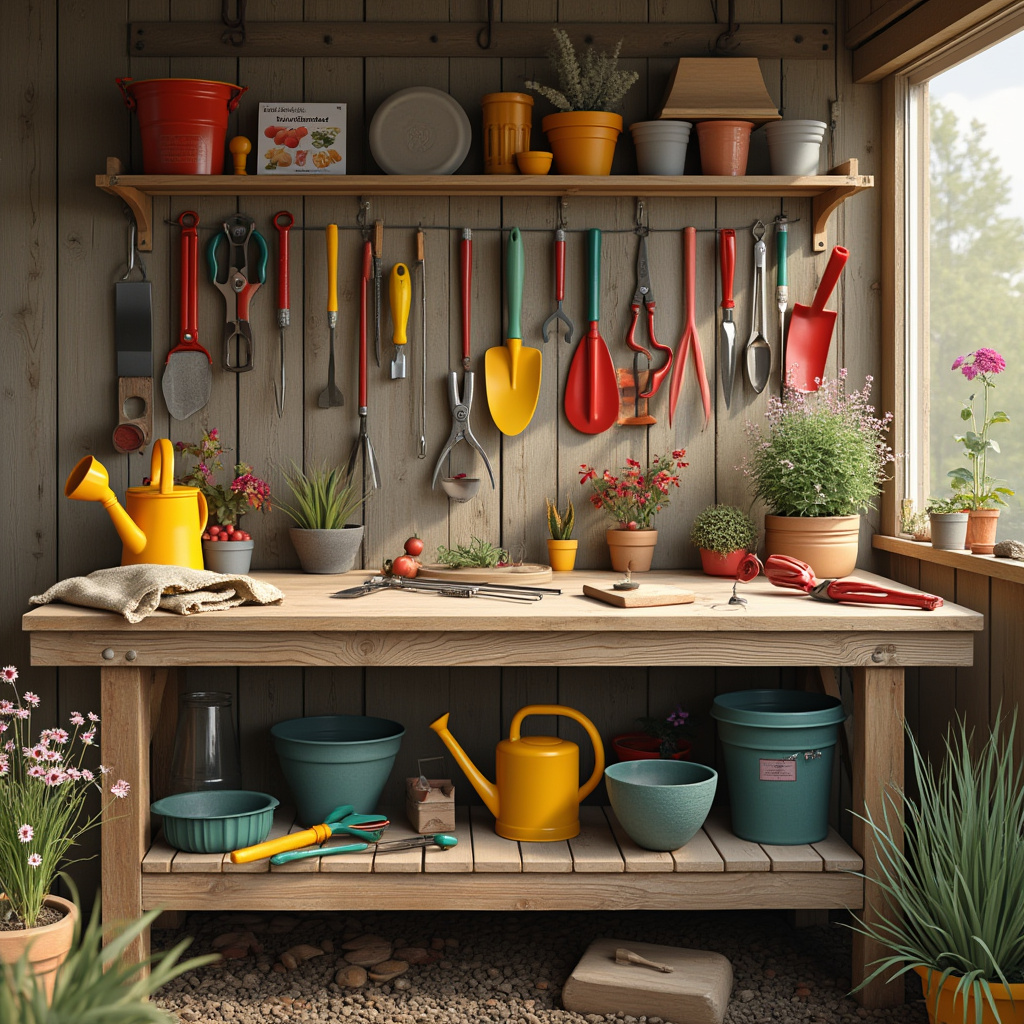
Must-Have Gardening Tools for Soil and Plant Care
A well-stocked tool shed ensures you’re ready for anything spring has in store. Here are the essential gardening tools every gardener should have:
- Gloves: Protect your hands from thorns, blisters, and soil-borne pathogens.
- Trowel: Perfect for digging holes for seeds, bulbs, and transplanting small plants.
- Hoe: Ideal for weeding, breaking up soil, and preparing large planting beds.
- Pruners: Keep plants healthy by removing dead or damaged foliage and shaping shrubs.
- Garden fork: Loosens compacted soil and aerates garden beds.
- Rake: Levels soil, removes debris, and helps with spreading mulch.
- Watering can or hose: Delivers precise water to where it’s needed most.
Tool Maintenance Tips:
- Clean tools after each use with water and a stiff brush.
- Dry thoroughly to prevent rust.
- Sharpen blades (pruners and hoes) regularly for efficient cutting.
- Oil wooden handles and metal parts to extend tool life.
- Hang or store tools in a dry, sheltered spot to avoid damage.
Taking care of your equipment ensures it will last for many gardening seasons and always perform its best when you need it.
Using Organic and Eco-Friendly Gardening Products
The products you choose for fertilizing, pest control, and soil health have a significant impact—not just on your plants, but on the environment. Opt for organic and sustainable options whenever possible to create a thriving garden that’s safe for people, pollinators, and the planet.
Top Organic Solutions:
- Fertilizers: Use products like compost, aged manure, fish emulsion, or seaweed extract to nourish your plants naturally without chemical runoff.
- Pest Control: Introduce beneficial insects (ladybugs, lacewings) or use neem oil, insecticidal soaps, and diatomaceous earth.
- Soil Enhancers: Rock dust, worm castings, and biochar improve soil structure and boost nutrient content.
Sustainable Gardening Tips:
- Compost kitchen and yard waste to create your own rich soil amendment.
- Mulch with organic materials to conserve water and suppress weeds.
- Rotate crops annually to maintain soil health and reduce disease.
- Collect rainwater for irrigation and opt for drought-tolerant plants.
By choosing these eco-friendly practices, you’re nurturing not only your own garden, but also the greater ecosystem around you—a win-win for every gardener.